"You are so creative!" I have heard that phrase constantly since I was little. DIY, Refashioning, Crafting, Sewing, Woodworking. I love it all! Now I have a place to keep my favorite projects or ideas organized and share them with you!


Sunday, February 20, 2011

Treasures Mosaic Mirror

Photobucket


My daughter is hopelessly in love with trinkets. She calls them her treasures. I call them choking hazards.

Not a day goes by that she doesn't find some piece of something on the ground someplace that she feels she cannot live without. I have decided to pick my battles when it comes to these small items and can usually toss the ones that are just pieces of garbage. (When she is not looking of course) The others I allow her to keep in her jewelry box.

From time to time I would find these little trinkets on the floor which is not a safe situation since she has a one year old brother who likes to put them in his mouth. So I pick them up and have saved them in a jar in the cabinet. I was not sure what I was going to do with this obsession with treasures and trinkets. Her collection was becoming to large to fit in her jewelry box.

Then I read about this project in Family Fun magazine. I thought it would be a good fit for her collection. I also happened to grab a mirror with a crack in the frame from the free box at a rummage sale this summer so this project was a no brainer.


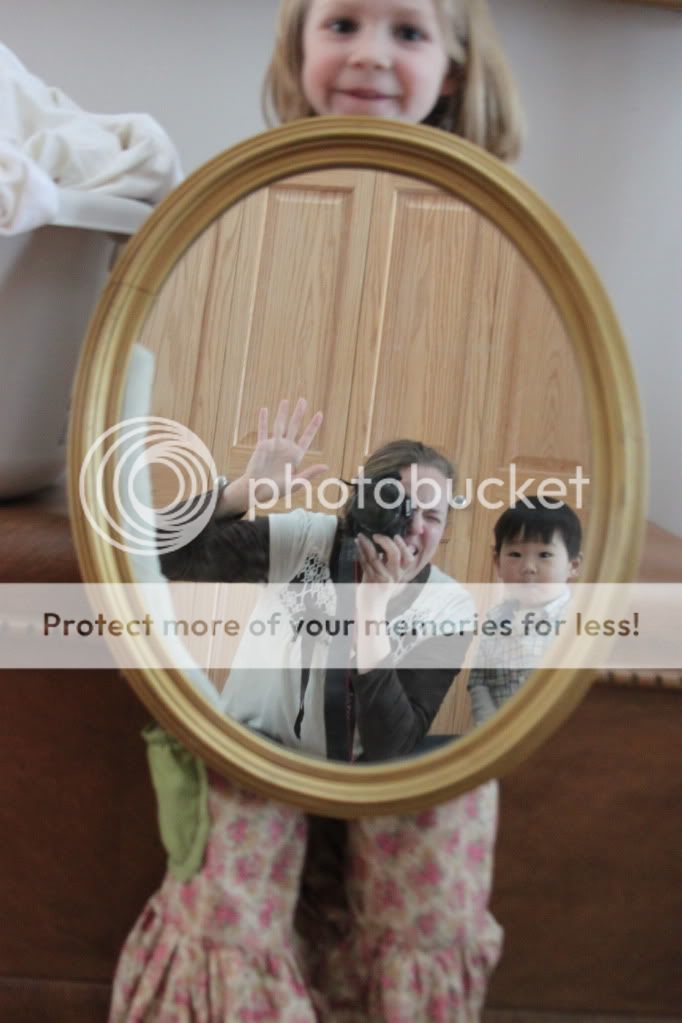
Here is the mirror I got out of a free box.
Photobucket
Bet you have never seen me behind the camera before on my blog. :)

As you can see it doesn't have a flat frame like the project ones so it was going to make gluing things on a bit more complicated.

Regular glue on a frame like this would not work too well. It will not dry fast enough for my taste so we went with a glue gun. Yes things may not stay on if they are bumped or pulled but where we were planning to hang the mirror was not in an easily touchable spot anyway. Plus if the thing can easily snap off she can glue on and take off things of her choosing as she grows and her interests change.

Photobucket

I showed her how to use the low temp glue gun. Then dumped her treasures out and let her get to work. I did suggest using the larger treasures first so that she didn't run out of room for them.

Photobucket


Fun to see what a five year does with a new medium. She didn't use all the items, she was picky about what went where. I was only allowed to watch and help if something didn't stick right. She was giddy about the fun she was having creating her masterpiece.

Photobucket

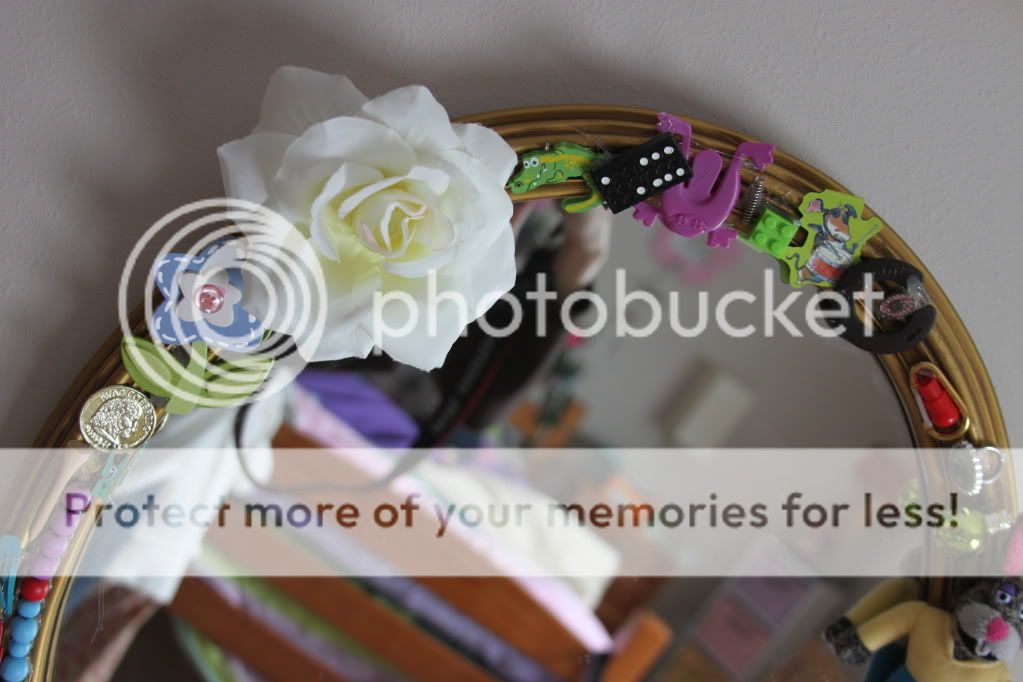
It kind of reminds me of an I Spy book in it's eclectic look. She can now enjoy seeing her treasures every time she is in her room without worry that her brother will get into them. It is truly a celebration of her and all that makes her special.

Photobucket

Photobucket


Photobucket

Photobucket

I can't help but see my daughter in this mirror. Hehehe get it?

Photobucket

The best part is... there is still some of room for more trinkets on there! So she is going to keep a jar in her room for her mirror treasures and trinkets. Once it gets full, we will just get out the glue gun again.

Linking up here:


Katie's Nesting Spot

Photobucket

Tuesday, February 15, 2011

Korean Hanbok

Photobucket

My daughter has always wanted a hanbok. We had looked at buying her one when we traveled to Korea at the end of 2009 but couldn't find one in the price range we had hoped.

Lunar New Year was fast approaching and I had been doing a bit more sewing this year and decided that maybe I could make her one. I was unsure if I would be successful at this attempt so I decided to use some leftover poly-silk fabric I had on hand. It is a shiny silk-like fabric but doesn't have the floral textured details that a traditional Hanbok fabric has, and it is washable.

The fabric was a bit of a challenge because it does tend to fray fast. If I had a surger that would make things easier but I do not. I did a lot of double stitching, rolling, and zig zag stiching to fix the cut edges to keep them from fraying on the finished garment.

I didn't have a pattern for a hanbok, but thought the pieces looked simple enough, although this was probably the most complicated project I have attempted

The under hanbok is fairly simple.  A long skirt with a high wasted top with a couple straps. The back I used a couple hook and eye clasps to make it open to get on easily. The pleated part would probably be the most tricky. I had made a pleated skirt before on this dress, so this style lended itself well to the hanbok as well. I like to pin all four points of the skirt to the four points on the top part and then keep pinning half way and half that distance until you can fold over the pleat and pin it in place.

Photobucket

I tend to not be a perfectionist when I create things but just start and fix things as I go. This works well as long as you start big. You can always make things smaller but you cannot easily make them bigger.

The top was more of a challenge for me. I finished the bottom first because I had already done something similar but the top was all new for me.

Photobucket
First I draped the fabric in the shape of the top just to get the idea of what it may look like. I had a couple choices for color so this was helpful to see. Green is my daughter's favorite color so that is what we chose.

One thing I have learned to do is to make a pattern from other pieces of clothing. Lucky for me my daughter has a top that has a cross over wrap front to it.
Photobucket

So I took it and folded back the sleeve and other parts so I had the shape right. Then cut around that shape adding at least an inch for seam allowance. Remember easier to fix things that are too big rather than too small. I did this for each side of the front, and for the back piece.

Photobucket

Photobucket

Then I sewed these three pieces together on the side and top. Don't forget to leave holes for the arms.
One thing I should have done at this point and had to go back and fix was in a traditional hanbok the front piece of the jacket goes straight down and doesn't angle all the way down like the photo below. I fixed mine later but should have corrected the straight down part at this point my making a seam down to square it off before doing the red collar.

Photobucket
For the red on the neckline I cut a long red strip that was wider than I needed and then folded and pinned the cut edges and sandwiching the cut green neckline inside the red strip.

Using the same technique I cut a green strip to lengthen the bottom edge a bit and to cover all the cut edges. But since my bottom edge was salvage and not fraying I waited and did this step later.

The curve of the arms I traced my son's hanbok but adding length and width to the curve. I cut it on a fold so I only stitched the bottom curve. Then I stitched the sleeves to the dress.

Photobucket

I wanted my daughter to be able to put her hanbok top on herself and used some Velcro to hook the top together on the inside to hold the inside closed.

Photobucket

the bow I tied and hand stitched together so she would not have to tie it herself. On the back of it I put a hook and sewed the eye part to the garment in the correct spot to close the front.

Photobucket


Since the fabric was plain and I did not have an embroidery machine I bought some butterfly iron on applique patches at a craft store. I did not however use an iron because this fabric does not do well with an iron, so I just sewed them onto the skirt and a few to the top. These really helped give it that finished look and what little girl doesn't like butterflies?

Photobucket


I am hoping that this will fit her next year as well. I can not say I will be making her another one in the future for sure. We are planning to travel to Korea summer of 2012 and we will have more time for hanbok shopping this time around I am sure.

Photobucket

Photobucket

Photobucket

Photobucket

Photobucket

We had a wonderful Lunar New Year celebration at our home. The kids can't wait until next year.

Photobucket

새해 복 많이 받으세요

Hello everyone checking in from the Little Seouls Blog!!
http://www.littleseouls.blogspot.com/

Also linking up to show my friend Katie over at

Katie's Nesting Spot

Wednesday, February 2, 2011

Edible Groundhogs!


My daughter insisted we make a groundhog themed breakfast today.

Photobucket
She came up with the idea. Her idea was a circle of bread, but I suggested a heart cookie cutter so he had chubby cheeks. Chocolate chips, her idea of course.


Photobucket

Add a little jelly on the cheeks for a girl groundhog!

What you need:
Chocolate chips
Mini chocolate chips
Bread
Heart cookie cutter
Peanut butter

Tuesday, February 1, 2011

Egg Carton Long Stem Rose (hide a surpise inside)

When making the egg carton framed rose heart project we had some leftover egg carton so we came up with this idea using the single egg carton cups, red paint and a pipe cleaner.

Photobucket

A beautiful long stem rose.


Photobucket
And what is cool about this rose, is..

Photobucket

It opens up so you can hide a small Valentines gift inside.
We chose to hide a Kiss inside for that special someone!

!!! BRIGHT !!! Pasta Mmmmm

Photobucket

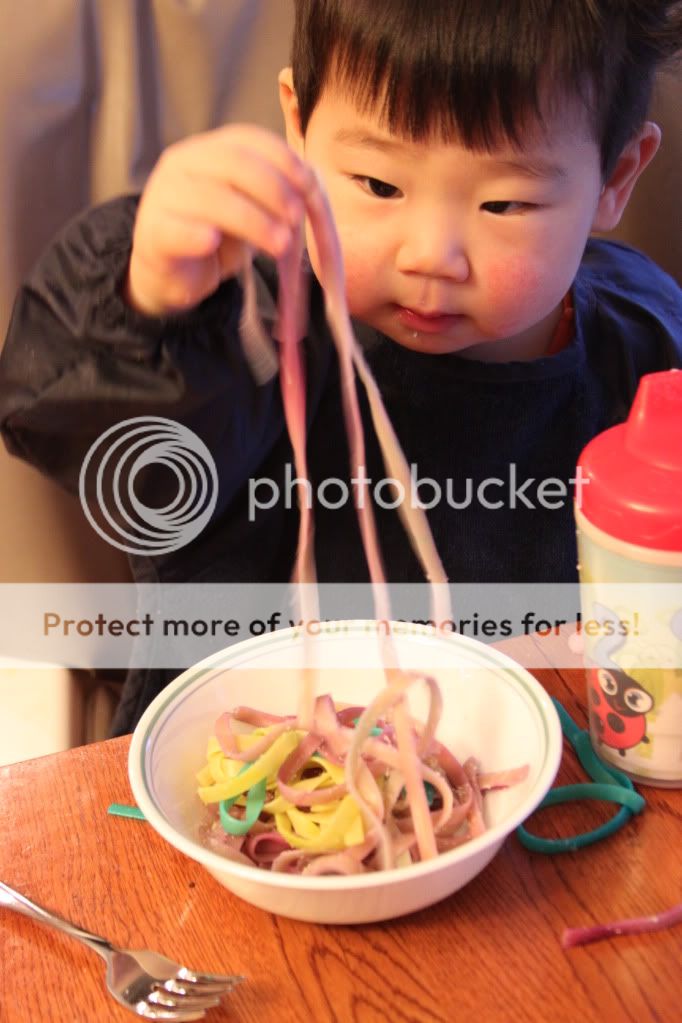
So we have noodle eaters in our house. They LOVE pasta. Just plain with sprinkle cheese. They are happy with it no matter what. Easy quick last minute meal for them when I can't think of anything else.

A friend was talking about coloring dry pasta for art projects yesterday and I thought... Lets color the cooked pasta tonight!

Photobucket

Photobucket

So we did! I cooked a whole box of pasta, then divided it in three. I used our bright neon food coloring, mixed it with a bit of water and put the dry cooked pasta in a Ziploc and moved it around until coated. The blue worked best, I had the most water in that bag and dumped out extra liquid after the noodles were colored.


Photobucket
The other two colors came out a bit uneven because I put the food coloring on the pasta in the bag instead of mixing it with the water first.
Photobucket

Photobucket

Photobucket

My daughter has a very bright colored lunch in her thermos today. I hope her classmates think it is "SOOO COOOL" how could they not?

Egg Carton Framed Rose Heart

Photobucket


"Painting the roses red, were painting the roses red!"

This song came in handy for this project! My daughter really enjoyed this project and look how cute it turned out.

Reminds me of this type of fancy Valentines decore.
Widescreen Rose Garland: Heart Shape Rose Bouquet

Photobucket

What you need:
Cardboard egg carton that holds 18 eggs. (the ones that are three wide)
Red Paint
White paper
Cardboard Square
Black paint.


We cut the heart out in one piece and painted it red!
We painted a square piece of cardboard black
We put a square piece of paper onto the black cardboard piece so that it looked like it was framed in black.
Then we glued the heart in the middle of the paper.

Photobucket


Photobucket


Preschool art project style, yet with a subtle twist of sophistication. :)

Photobucket