
This is one of those recipes that has been around forever, but there always seems to be someone who has not tried it, or a new mom who has not heard of it. I started making play-doh this way when I worked in a preschool room at a daycare center.
I swear, once you do try this, you will never buy containers of play-doh again. This stuff is softer, smells great, and is super easy to make.
I am a visual person. I enjoy seeing what things will look like when I am making them so there are no surprises. So that is what I tried to do with this post.
What you need:
1 cup flour
2T cream of tartar (tones small containers have 3T in them)
1 pack of unsweetened Kool-aid
1/4 cup of salt
1 T oil
1 cup water

Fine Glitter!!!! Optional but so fun!!!

Ok kids can totally help make this I will show you. Here is my 3 year old, he is not quite 3 and a half yet.
Have them fill the cup of flour using a spoon to fill the measuring cup, when they get close to the top you can help them scrape it flat. Then have them carefully dump it into a pan. I also fill the measureing cup with salt and have them dump it in the pot.
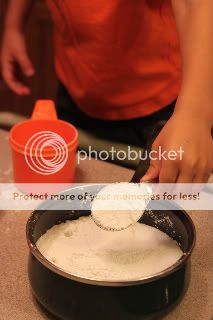
I filled the table spoons with cream of tartar, he dumped them in the pot.
Have them pick out a color/flavor of Kool-aid! (Keep in mind what ever color the finished cool aid is, is what color play-doh you will end up with.) Lemonade was not the best choice, so we had to help it along a bit, I will show you later.
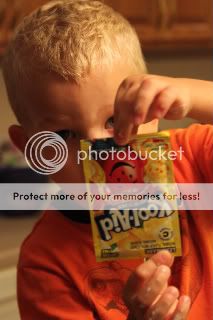
My daughter choose green for hers. Surprise surprise! I chose grape/purple, no surprise there either.

I opened the packets they totally dumped them in themselves.

Mix all dry ingredients together, my children did this themselves. I filled a measuring cup with one cup of water and then put the tablespoon of oil in the measuring cup. Then the kids can carefully dump both into the pot. This is the magic part because the color magically shows up.

Almost like a bubbly Halloween potion! I am planning to use this project at my daughter's room Halloween party. We will use electric skillet's to make it and act like mad scientists! Each child will take home half a batch that they make with a friend. Safety goggles and white lab coats are a must! We will see how much time and help I have, but I hope it will work out.

Cook on medium heat. I don't let the kiddos help out anymore for safety reasons. It does start out like a liquid. I thought for sure the first time I made this that I had messed up somehow. Nope this is just what it looks like.

Well for my son's you realize like I said before whatever color the kool-aid is the playdoh will be. Well if you think about it, Lemonade is not very yellow, so we did have to help this pack along a bit but you do NOT have to add food coloring to ANY other flavor!

First it looks very runny. Cook on medium heat and start to stir.

Then it will start to thicken. This is where I thought for sure I had messed up the first time I made this, but this is how it is supposed to look, keep cooking!

Then it will look like this. Perfect!

I then dump it out onto the counter, and I usually flatten it to make it cool faster. Playing can start once it is not too hot.
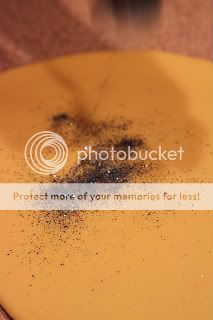
Then you can add some glitter if you wish. Exrta fine glitter works the best.
Then mush it all together.

We like using our dollar store rolling pin, plastic knives and cookie cutters.
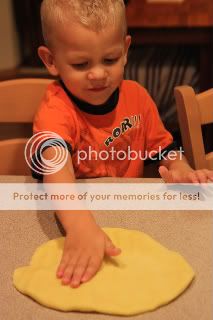
Play time!

If you don't have cookie cutters, try using a plastic cup!

They work great!

Almost anything can be used as a play-doh cutter.
This play-doh is so soft and doesn't crumble, plus it smells great! Grape is my favorite scent!!!

Store play-doh in ziplock bags.


Fun Kara, I do a similar play dough with my child care unit. We just add boiling water to the salt/flour mixture instead of cooking it. Love the smell
ReplyDelete